
If you’re just starting out your business and working with limited funds, finding an affordable graphic designer is seemingly impossible. Fortunately, there are many amazing (and affordable) freelance designers to be found online, or you can work with free design software. Canva is one of those free online design tools that are incredibly easy to use and can produce some pretty great designs. We’ve created a handy guide to show you how to design labels for print when using Canva. Learn how to export your print-ready artwork here!
Note that some of the features described below do require a premium subscription to the platform, but the premium subscription is affordable compared to more robust design software. Canva also offers a free 30-day trial of their premium services, allowing you plenty of time to design some awesome labels.
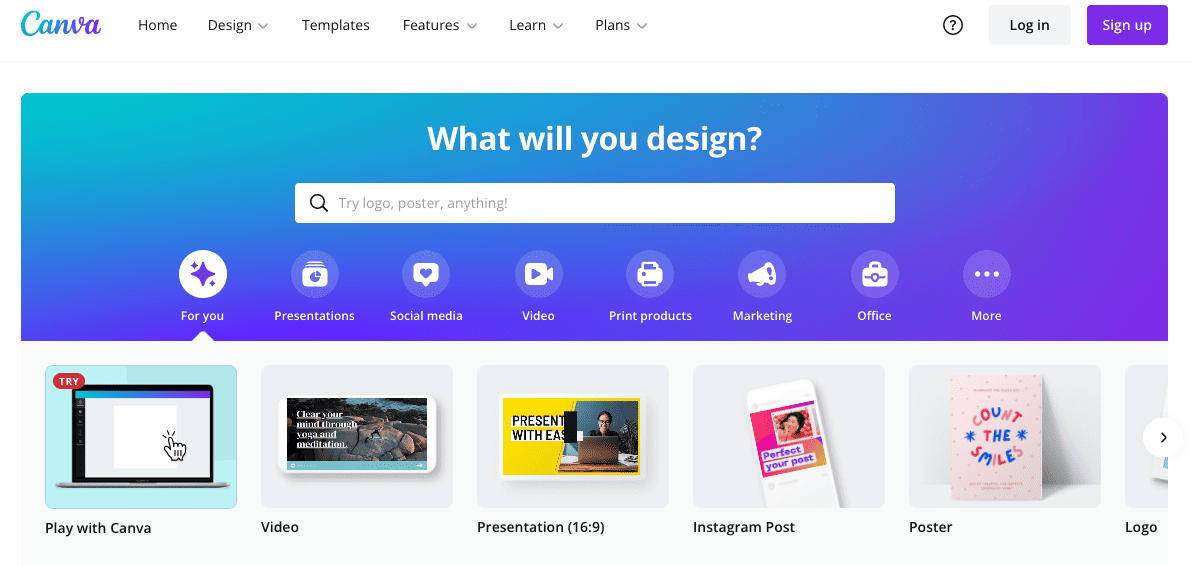
1. Choose a Label Template or Start From Scratch
Once you’ve signed in to Canva, search their vast template library for a premade label design or start from scratch. Either way, you’ll want to jump into their label category.
Once you’ve selected a template or opened up a blank canvas, you’ll want to input your label size. Canva will allow you to do this in pixels, inches, millimeters, or centimeters. We recommend designing your label using the same units your printer uses (for example, we use inches). If needed, you can use an online converter to take out any guesswork. Sizing your artwork according to your final label size is integral to creating a great label design.
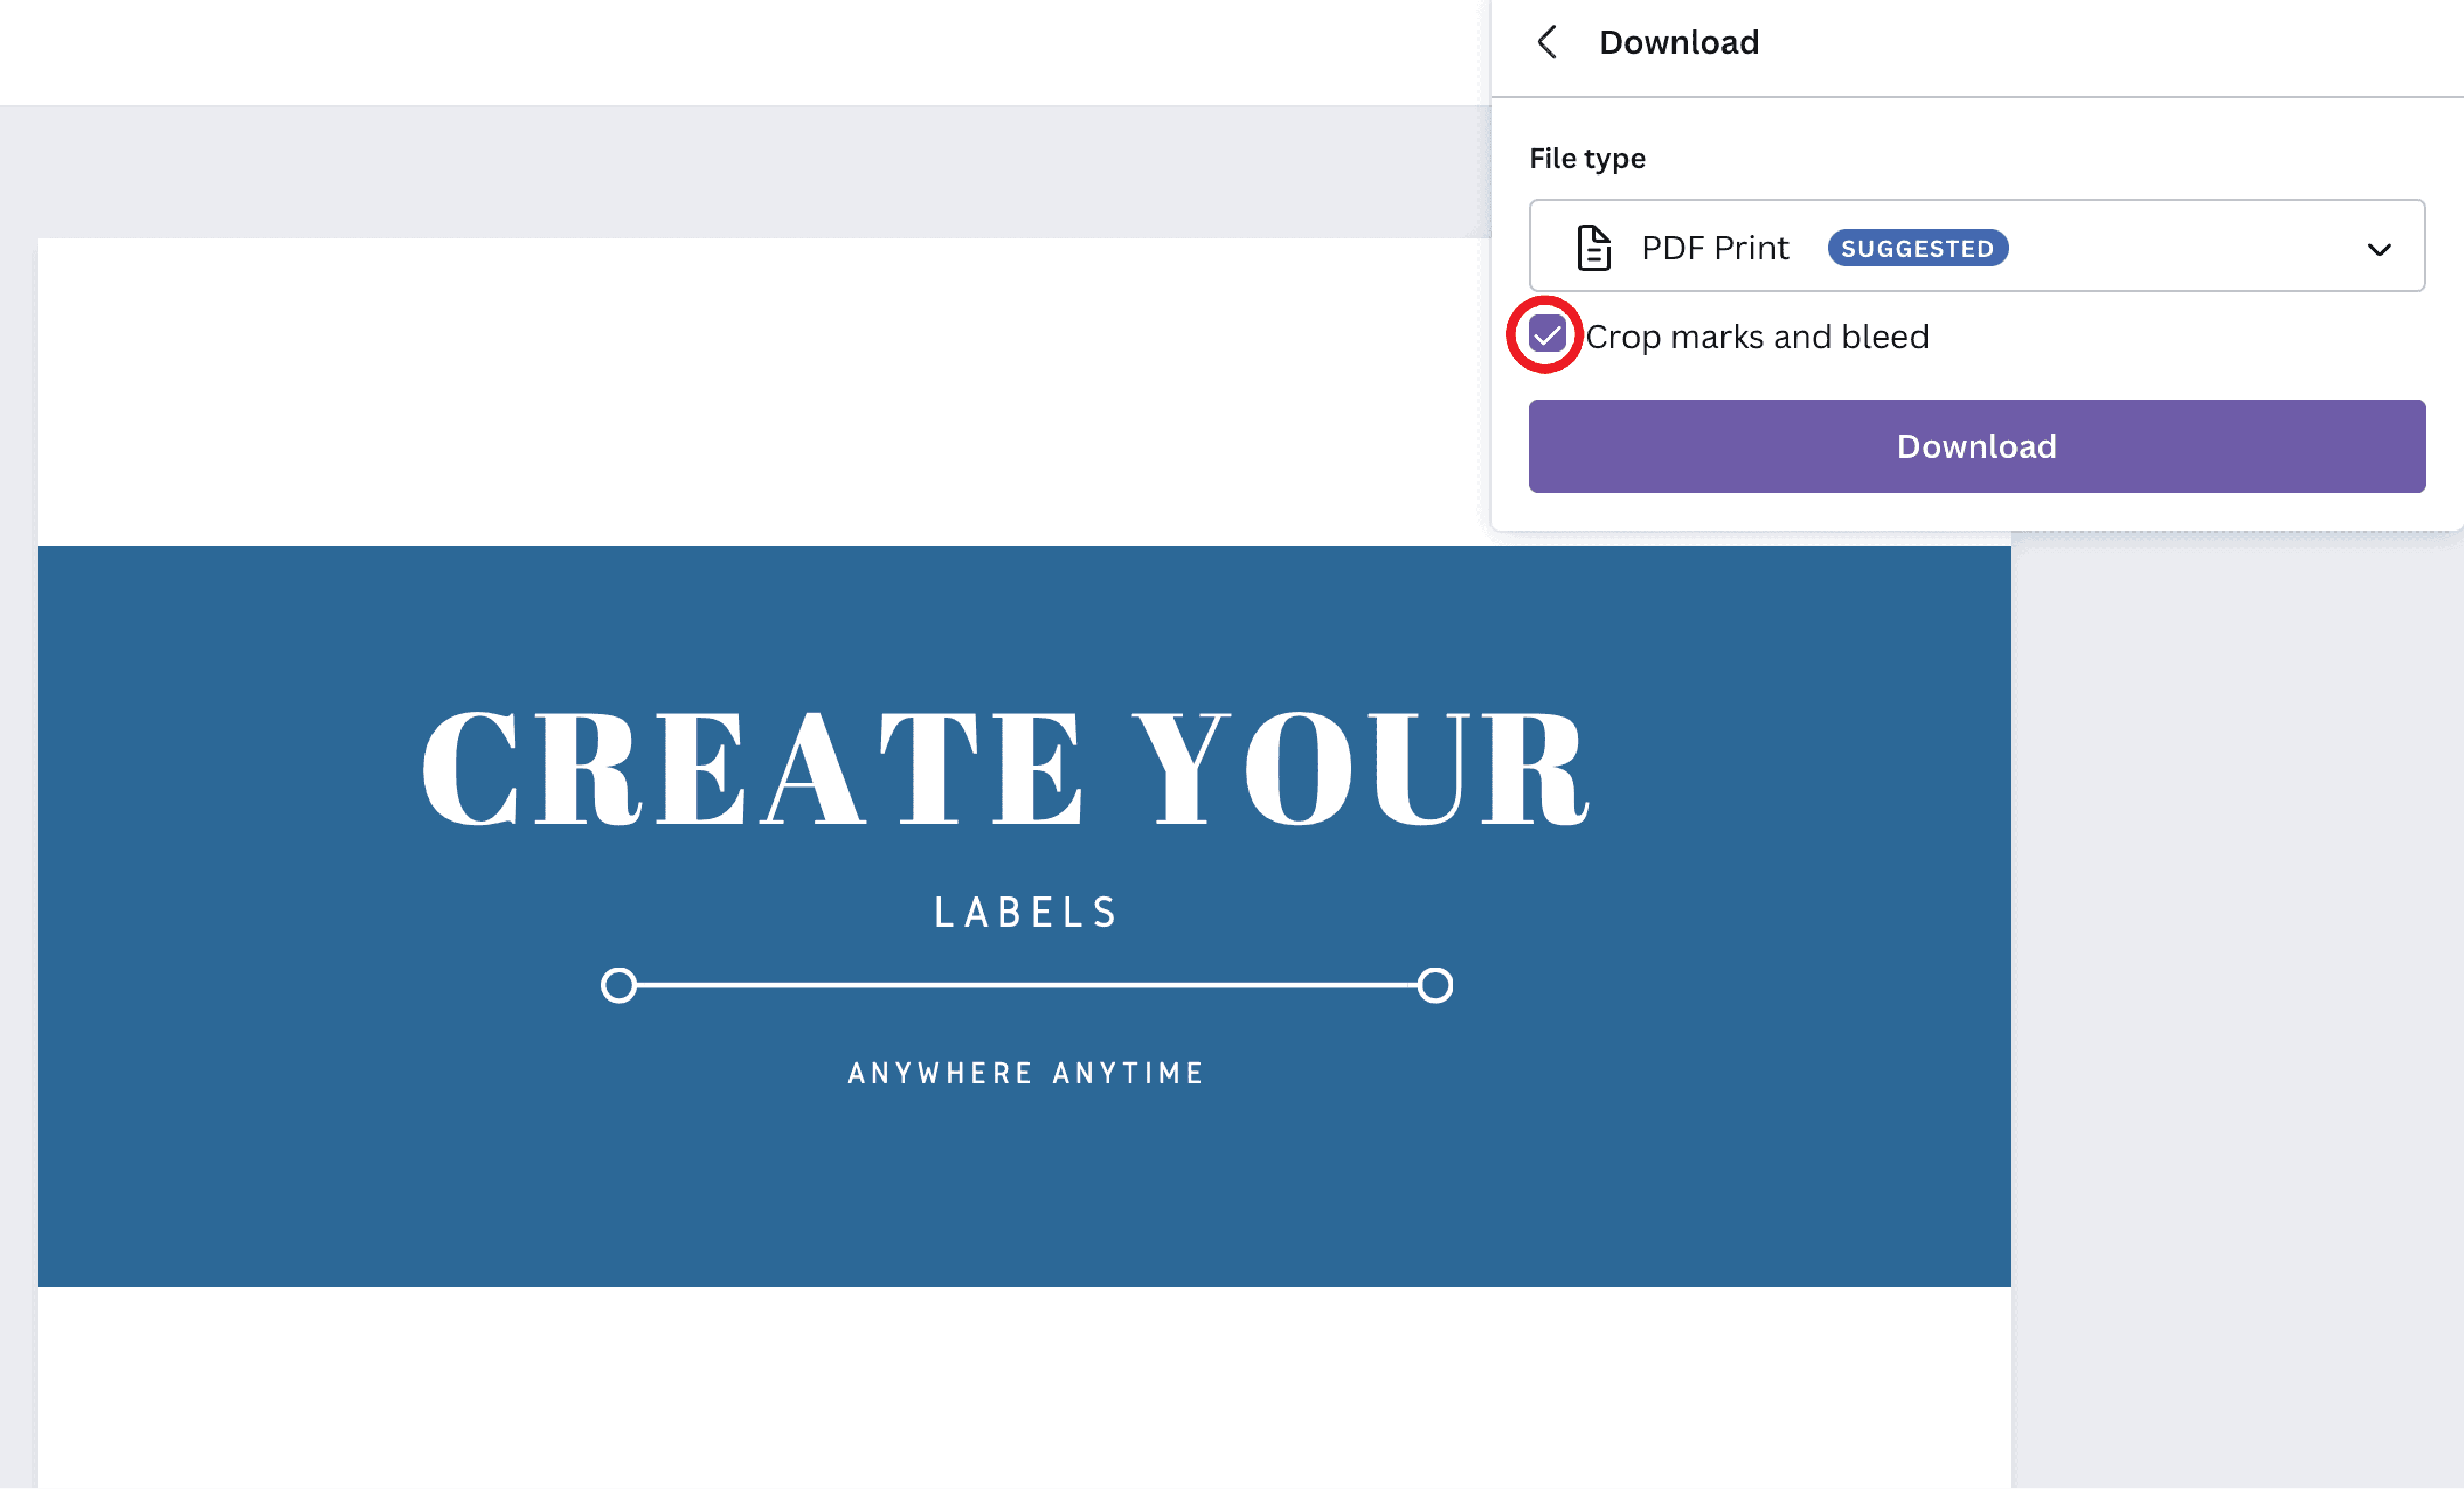
Keep in mind that your file should include bleed. Bleed is the background color, pattern, or image that extends 0.125″ beyond the cut line of your label. You need to include bleed to ensure that your entire background is printed and does not get cut off. When sizing your file, you’ll need to add .125” to both the height and width. For example, if you need a 2.000” x 3.000” label, your label dimensions should be 2.125” x 3.125” (which converts to 204 x 300 pixels).
2. Use High-Resolution Images in Your Label Design
If you’re designing a product label that needs a supplement or nutrition facts panel, you’ll need to upload that image into Canva. Before you do that, make sure the file is set at a high resolution–800 dpi is recommended, though 300 dpi at minimum is acceptable. You can check resolution right from your computer by following these steps:
How to Check Resolution On a PC
- Right-click the image you want to use, then select “Properties” from the dropdown menu.
- A new window will pop up. Go to the “Details” tab to check the image’s resolution and more.
How to Check Resolution On a Mac
- Right-click the image you want to use, then select “Get Info” from the dropdown menu.
- A new window will pop up. Go to the “More Info” tab to check the image’s dimensions. Larger dimensions generally yield higher resolution images, so if you have to scale anything down to fit on your label, you won’t lose any clarity.
Fortunately, the images Canva uses in its templates are of high quality, so you can faithfully rely on those being good to go.
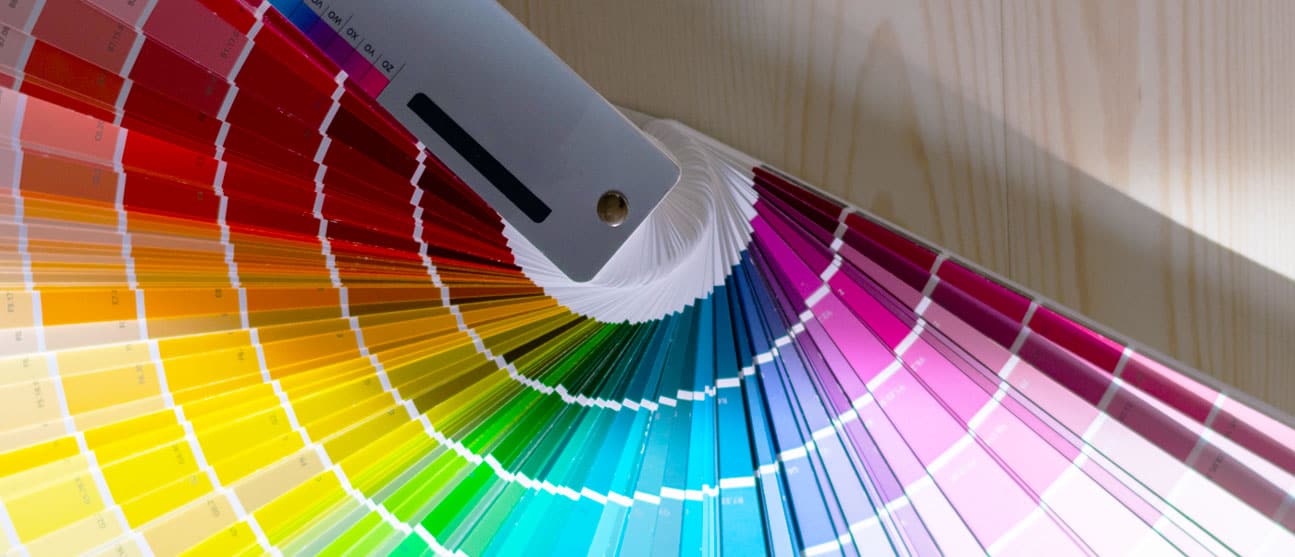
3. Convert Label Colors from RGB to CMYK
Since Canva is an online design tool, the designs are created in RGB color mode, but printing software uses CMYK color mode. You can easily convert your designs to CMYK by using an online CMYK conversion tool before submitting them to us. Though we can convert your files from RGB to CMYK, it’s better to do this ahead of time so you can check for any color or formatting shifts that result from the switch.
RGB Color Mode:
CMYK Color Mode:

4. Make Note of Fonts
Typically, all text needs to be outlined before being submitted to a printer–otherwise, the fonts are at risk of changing to a different font or not appearing at all when the file is opened. However, there is no way to outline fonts in Canva.
Don’t fret! Canva mainly uses Google fonts which are free to download. Make a note of each font used in your design and let your printer know what they are when you place your order. The fonts can then be downloaded and outlined before being sent to press. Just be sure to request a digital proof (at least) so you can check that everything translates correctly.

5. Keep Your Label Design Vector
In design terms, vector refers to elements that have been created with straight lines, such as text and shapes. Vector designs almost always print much clearer than images. When designing in Canva, make sure to keep those vector elements intact (you can still change colors to your heart’s content). When you’re ready to download your beautiful label design, make sure to download it as a Print PDF to preserve those vector elements.

Happy Designing!
We can’t wait to see what you design using Canva. Even if you don’t consider yourself a designer (or even a creative person), we know you can come up with a fantastic label design using this tool. If you have any questions along the way, please don’t hesitate to reach out to us!
You might also like:
- Prepress Checklist: Prepare Your Custom Label File for Print
- How and Why to Start Your Own Candle Business + TONS of Resources
- How to Correctly Label Cosmetics
This post was originally published in December 2019 and has recently been updated with new information and images.


